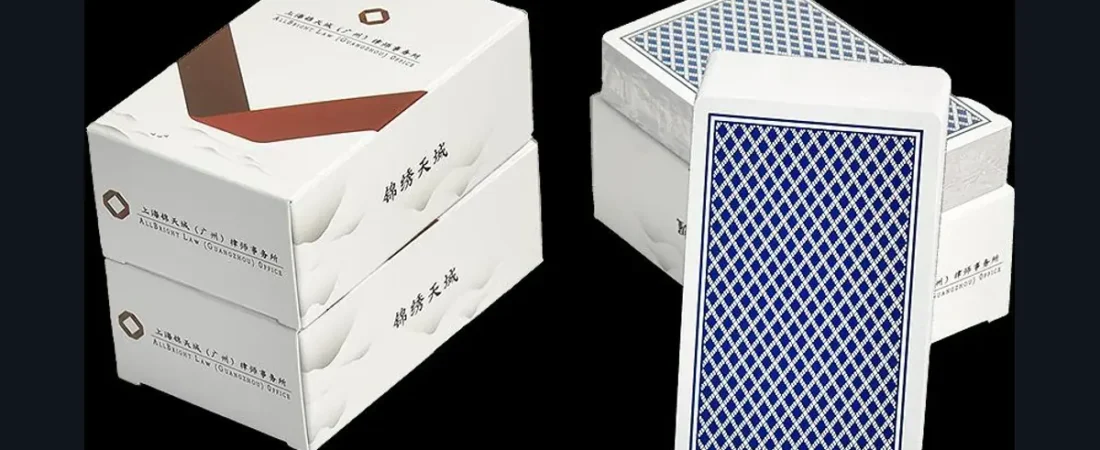
Updated September 6, 2026
Buyer guidance from Max Deck Print. Final specifications and commercial terms are confirmed for each project.
Always design a playing card tuck box on the factory’s current dieline. Keep the cut and crease guides on a locked non-printing layer, extend backgrounds through the specified bleed, keep critical content inside each panel’s safe zone, and supply foil or spot effects as separate vector layers. Do not build the box from guessed measurements.
What a tuck box dieline contains
| Line or area | Purpose | Artwork rule |
|---|---|---|
| Cut line | Final outer shape after die cutting | Do not place critical text directly against it |
| Crease line | Where panels and flaps fold | Keep small text and foil away from the fold |
| Bleed area | Extra printed area beyond the cut | Extend backgrounds fully through it |
| Safe zone | Protected content area inside each panel | Keep logos, barcode and legal text within it |
| Glue flap | Joins the carton body | Avoid important artwork and most special finishes |
Use 3 mm bleed only as a common starting point; the supplied dieline value is the authority. Do not move, rotate or rescale the dieline after artwork begins. If the card count, stock thickness or finished card size changes, request a revised box dieline.
Panel direction is easy to get wrong
A flat box file contains panels that face different directions after folding. Place temporary panel labels such as FRONT, BACK, LEFT, RIGHT, TOP and BOTTOM while designing. Before export, print a reduced paper mock-up, cut it out and fold it. This simple check catches upside-down side copy and reversed flaps before production.
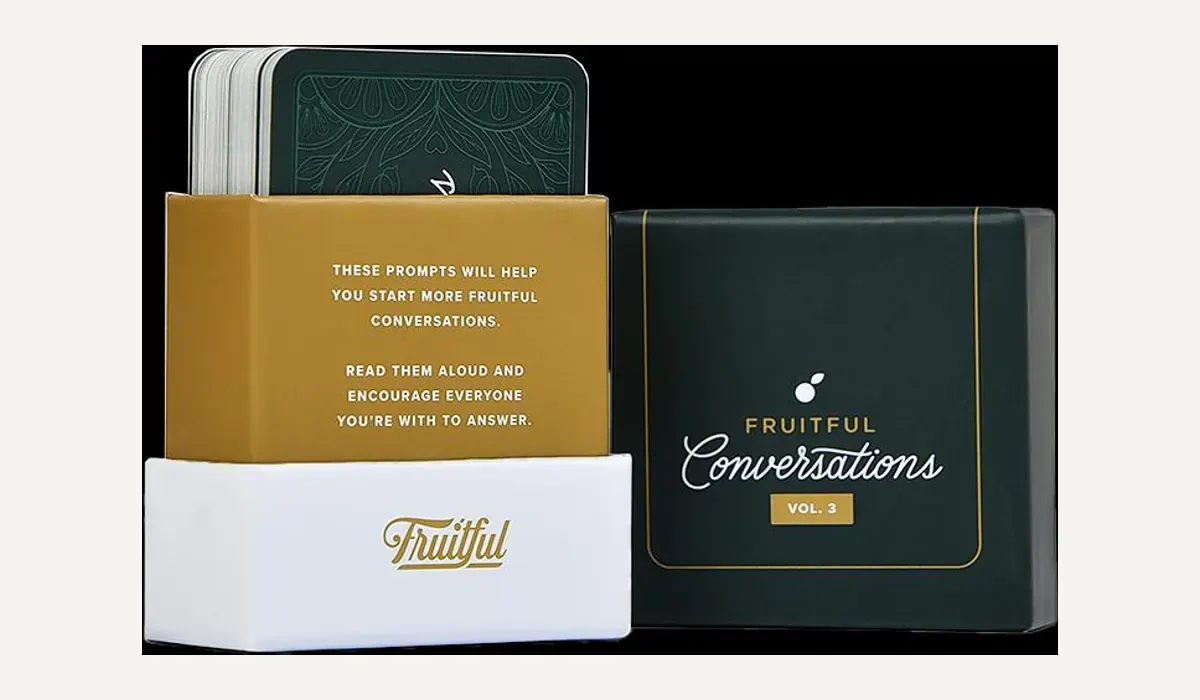
How to prepare foil, spot UV and emboss layers
- Create one named spot-color swatch for each effect, such as FOIL_GOLD or EMBOSS.
- Use 100% solid vector shapes; do not use gradients, transparency or raster shadows in the tooling layer.
- Keep effect layers separate from CMYK artwork and set them to the printer’s requested overprint behavior.
- Ask for minimum line width, gap and registration tolerance before finalizing fine detail.
- Include a reference PDF that shows the intended effect over the color artwork.
Barcode and regulatory copy
If the deck will be sold through retail, obtain the barcode number from the appropriate issuing organization and generate it to the required symbol specification. GS1’s barcode implementation guidance emphasizes correct identification, barcode type, size, placement and verification. Keep the quiet zone clear, avoid placing the code over a crease, and test the printed sample with representative scanners.
Final tuck box preflight checklist
- Confirm the dieline revision matches the final card size, count and thickness.
- Check all panel directions with a folded paper mock-up.
- Extend artwork into bleed and keep text inside safe zones.
- Outline fonts or package them, and embed all linked images.
- Use CMYK for print artwork and named spot layers for tooling effects.
- Check barcode size, contrast, quiet zone and final placement.
- Remove hidden drafts and export one production PDF plus one visual reference PDF.
Upload the card files, box artwork and reference PDF together on the project quotation form. Add the barcode standard, foil color, finish area and any legal-copy requirements in Project Notes so the review is attached to the same request.
Frequently asked questions
Can I create a tuck box without a factory dieline?
You should not. Box fit depends on card size, count, stock thickness, flaps and glue structure. Request the current production dieline before designing.
How much bleed does tuck box artwork need?
Use the value shown on the factory dieline. Three millimeters is a common starting point, but the supplied template controls.
How should gold foil be supplied in the artwork?
Supply gold foil as a separate, clearly named vector spot layer using solid shapes. Confirm minimum line width, gap and registration tolerance with production.
Where should a barcode go on a playing card box?
Choose a flat, high-contrast panel away from folds, edges, foil and glue areas. Preserve the required quiet zone and verify the printed sample before bulk release.
Ready to price your deck?
Share the quantity, card count and available specifications for a manual project quote. Artwork can follow later. Sending an enquiry does not confirm an order or collect payment.